Computer-aided Inspection of Plastic Parts
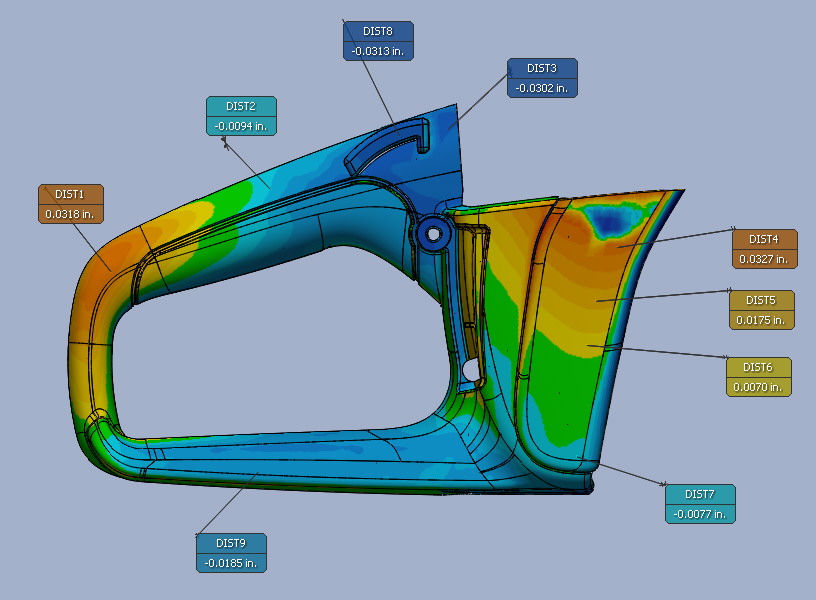
3D Scanning can be used to perform dimensional inspection of complex plastic parts. This is done by scanning the part to create a 3D mesh file and then aligning that data with the original CAD file. The deviation between the scan data and original CAD data can then be analyzed. Color deviation models will show the distance between the scan and CAD data. Traditional GD&T measurements can also be taken.
This process will supply much more information than what is typically obtained with CMM inspection. Many more points of measurement are taken making it possible to identify warpage and shrink issues more easily.
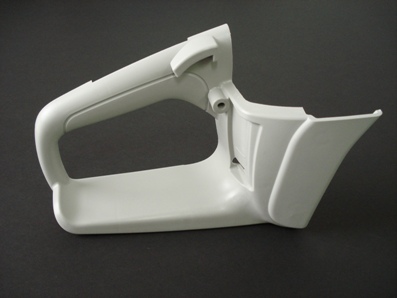
Typical plastic part to be inspected
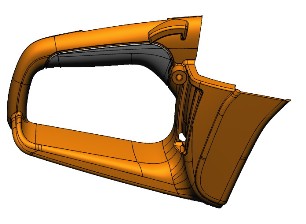 Original CAD data
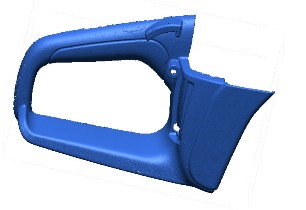 Scan data
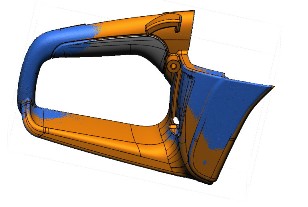 Scan data is aligned to CAD data
After the scan data has been aligned to the CAD data, a 3D color deviation model is created that will show where and how much the data differs.


 Original CAD data
 Scan data
 Scan data is aligned to CAD data